


- All posts
- Allergies
- Bleach Damage to Jewelry
- Chlorine Damage to Jewelry
- Cracks in Gold
- Custom Engagement Rings
- Custom Jewelry
- Damage to Jewelry from Pool
- Diamond Alternatives
- Engagement Ring Budget
- Engagement Ring Styles
- Engagement Rings
- Ethical Standards
- Gift Ideas
- Gifts
- Gold Alloys
- Gold Jewelry
- Goldsmith
- Hand
- Handcrafted Jewelry
- Handmade
- Handmade Jewelry
- Jewelry Allergy
- Jewelry Design
- Jewelry Education
- Jewelry Gifts
- Jewelry Maintenance
- Jewelry Makeover
- Jewelry-making
- Lab-grown diamonds
- Nature
- Nickel White Gold
- Non-Diamond Engagment Rings
- Palladium White Gold
- Precious Metal
- Quality Jewelry
- Repurpose Jewelry
- Reset Diamond
- Reuse Diamond
- Synthetic diamonds
- Women in Design
- Women in Jewelry
- Women-Owned Business
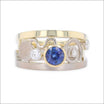
Know Your Karats: What You Need to Know Before Buying Gold Jewelry
Understanding karats and alloys will help you make the best choice for your next jewelry purchase. Let's demystify all those confusing terms and markings plus mention the benefits and drawbacks of ...
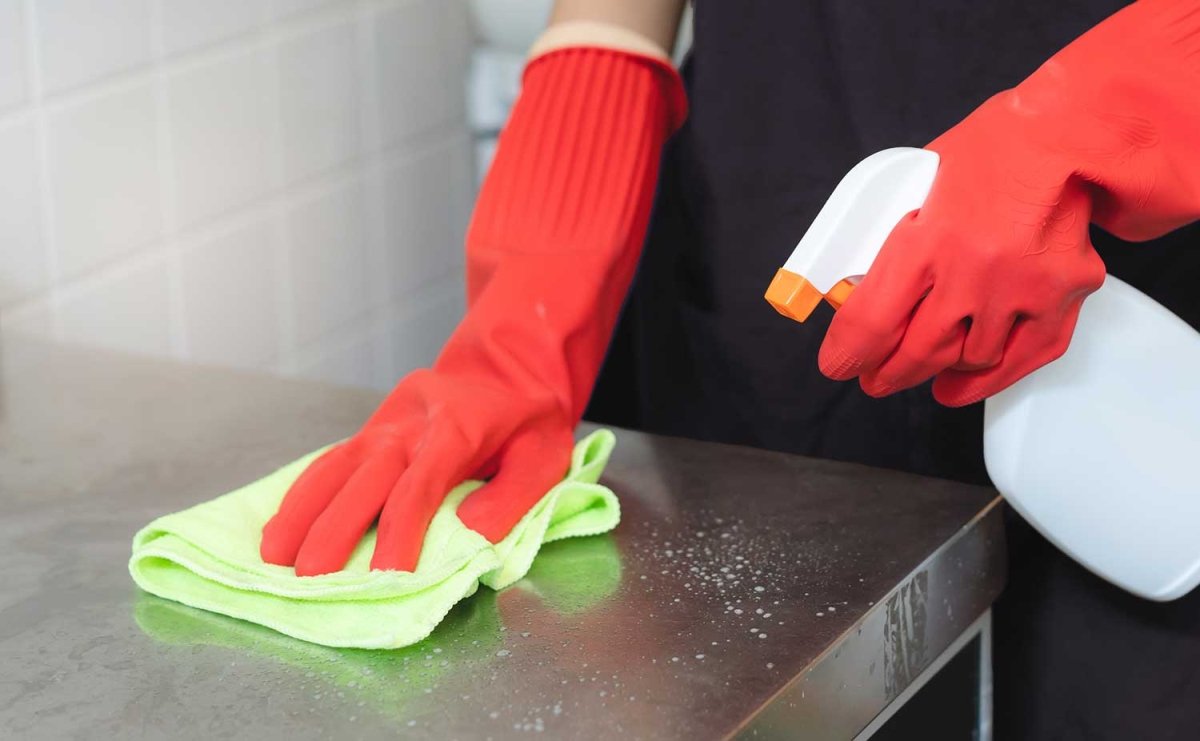
This Common Household Chemical Could Destroy Your Jewelry
Many people are unaware of the effects of bleach and chlorine on gold jewelry. Exposure to cleaning products containing bleach (chlorine is the active ingredient in most household bleach) and even ...
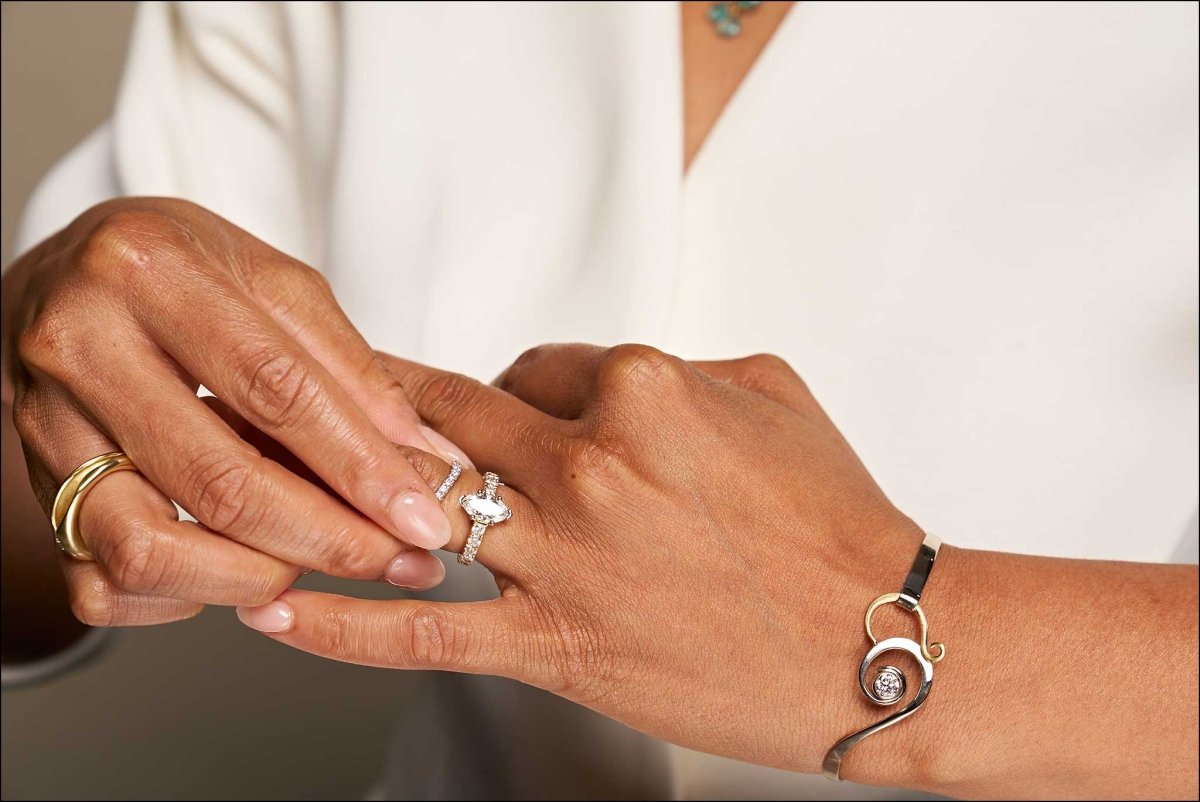
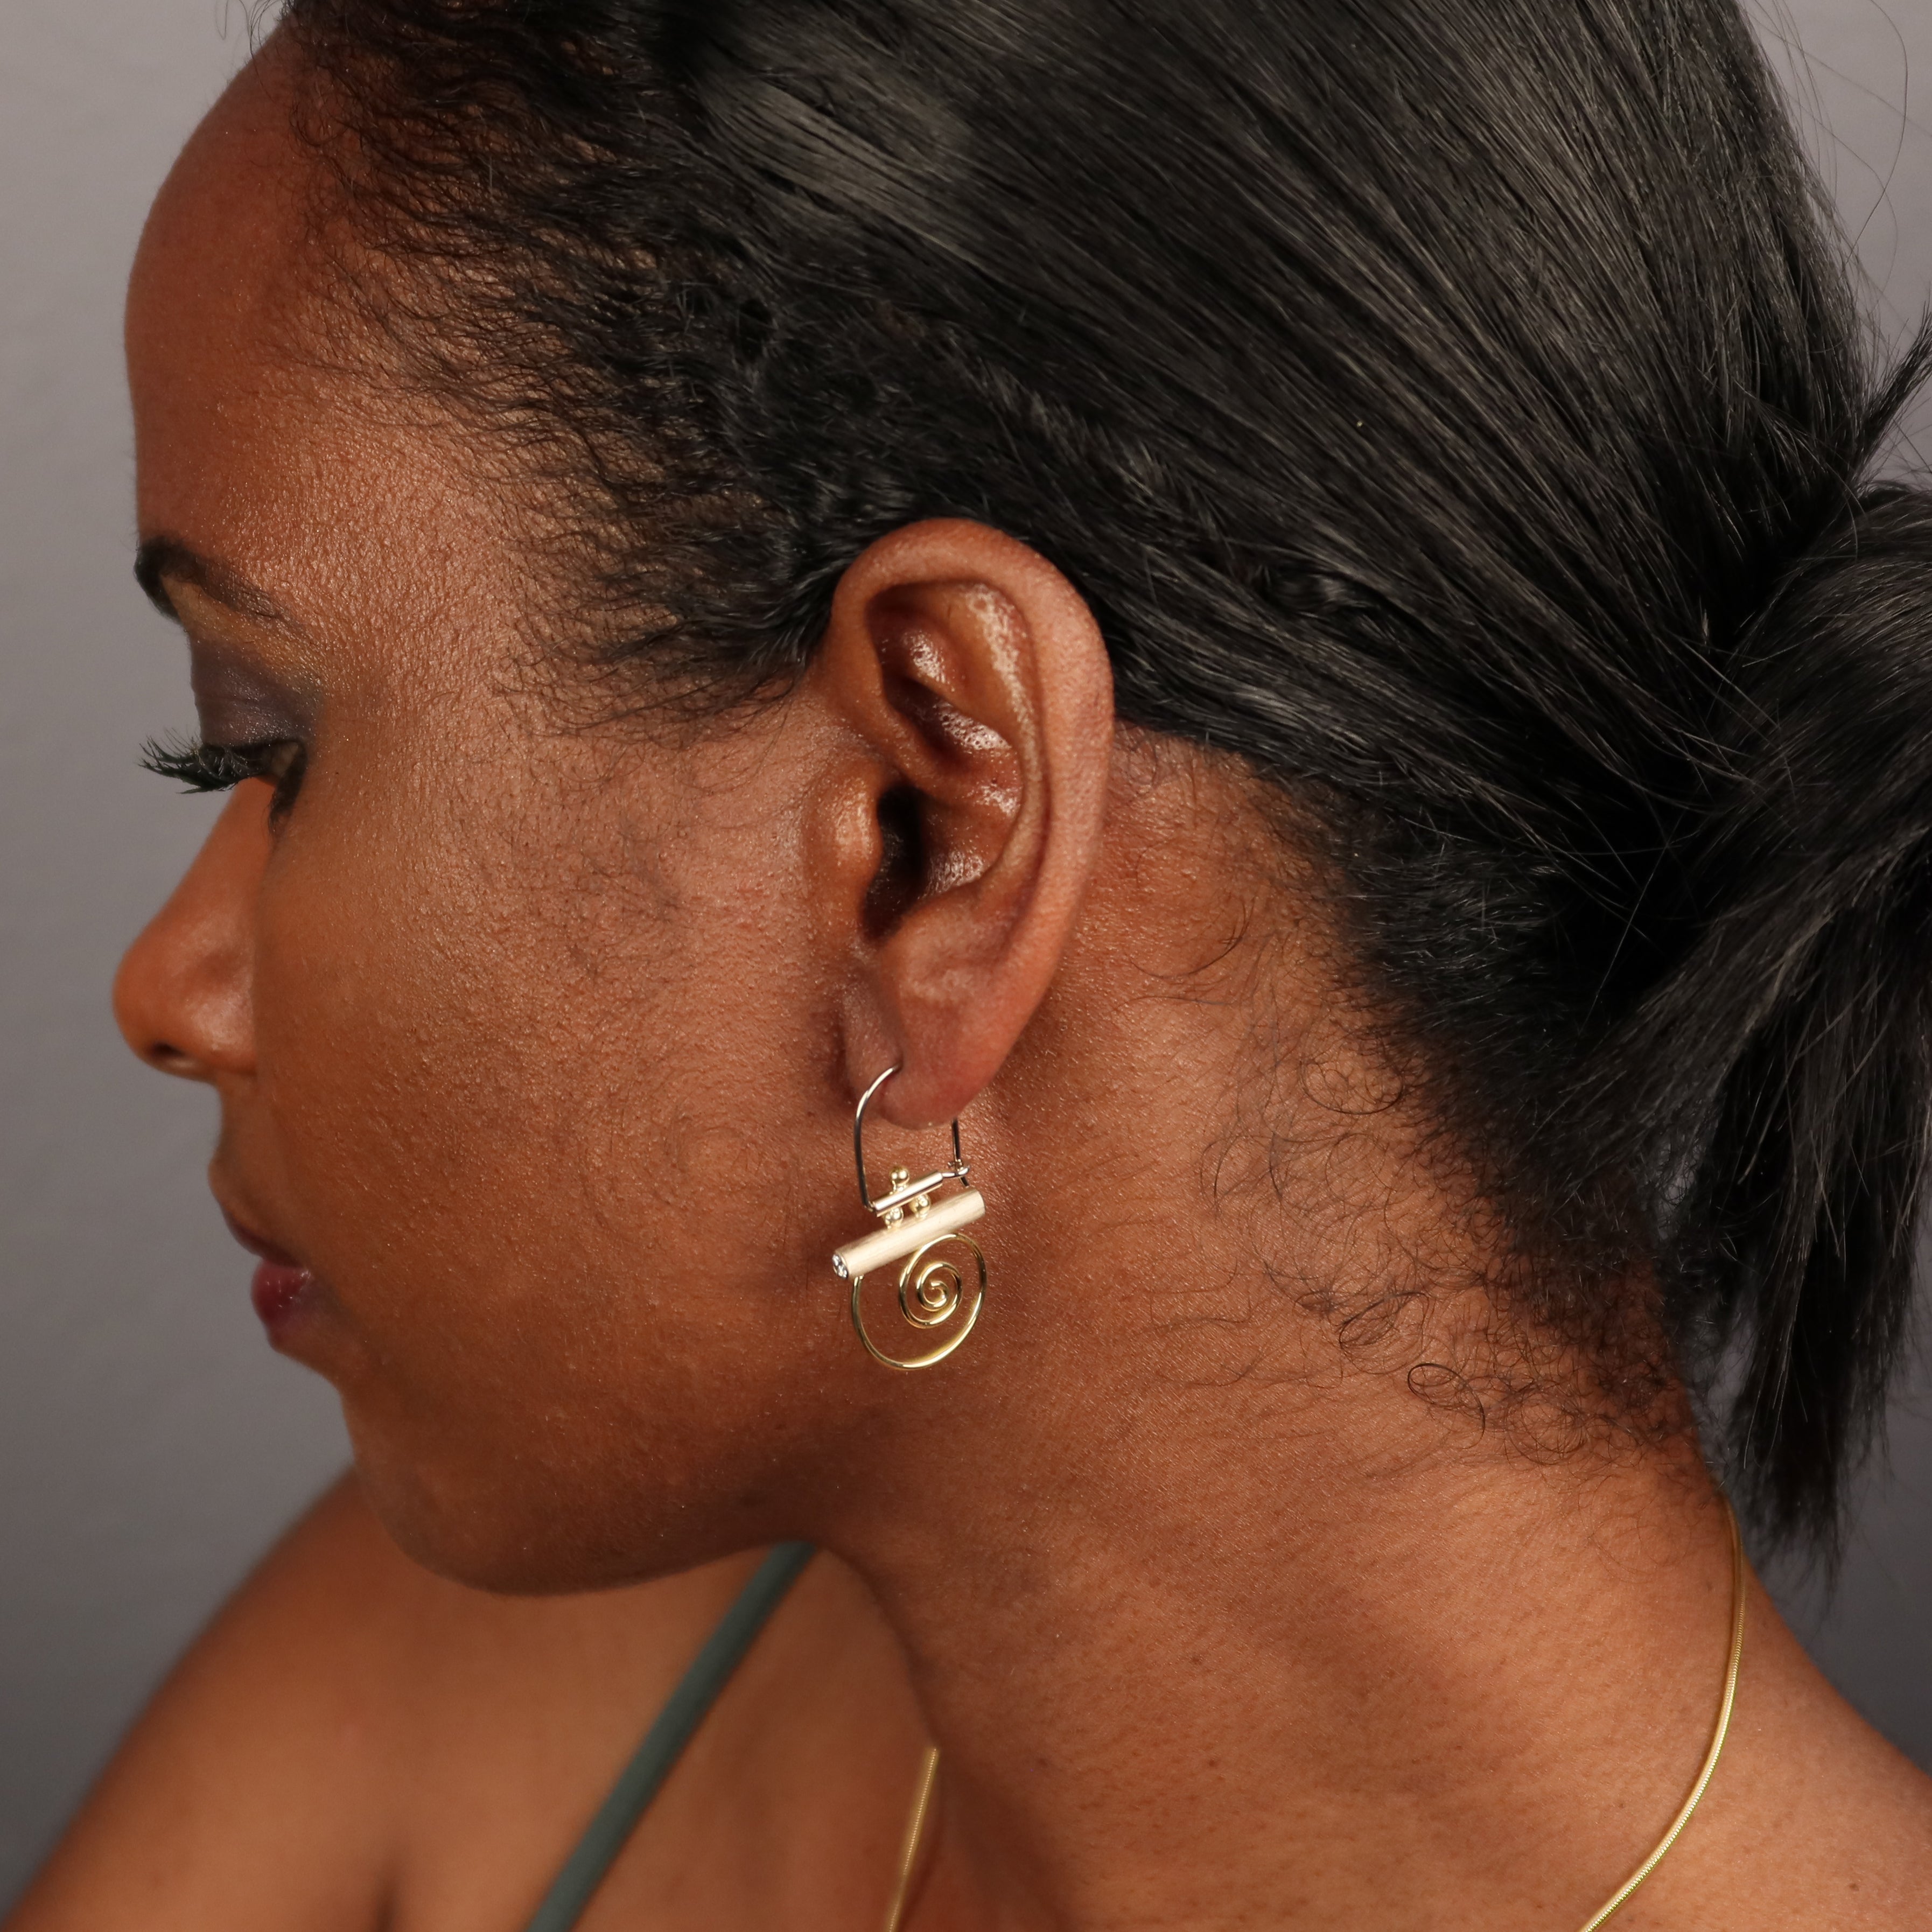
The Ultimate Guide to Sizing Rings for the Perfect Fit
How to find the right finger size so your rings feel as good as they look. Why is it so hard to get that perfect fit for your rings? Rings that slide around or are uncomfortably tight can be super ...
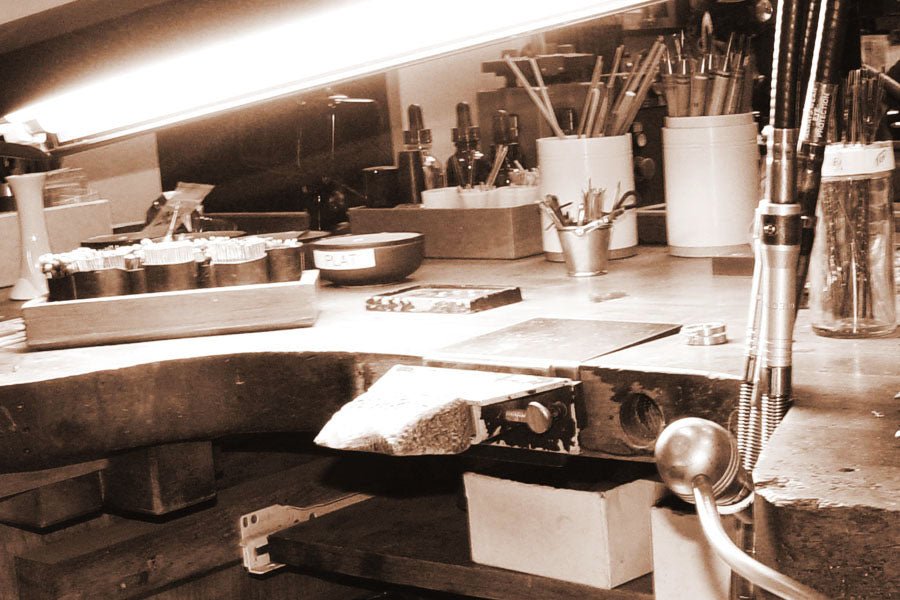
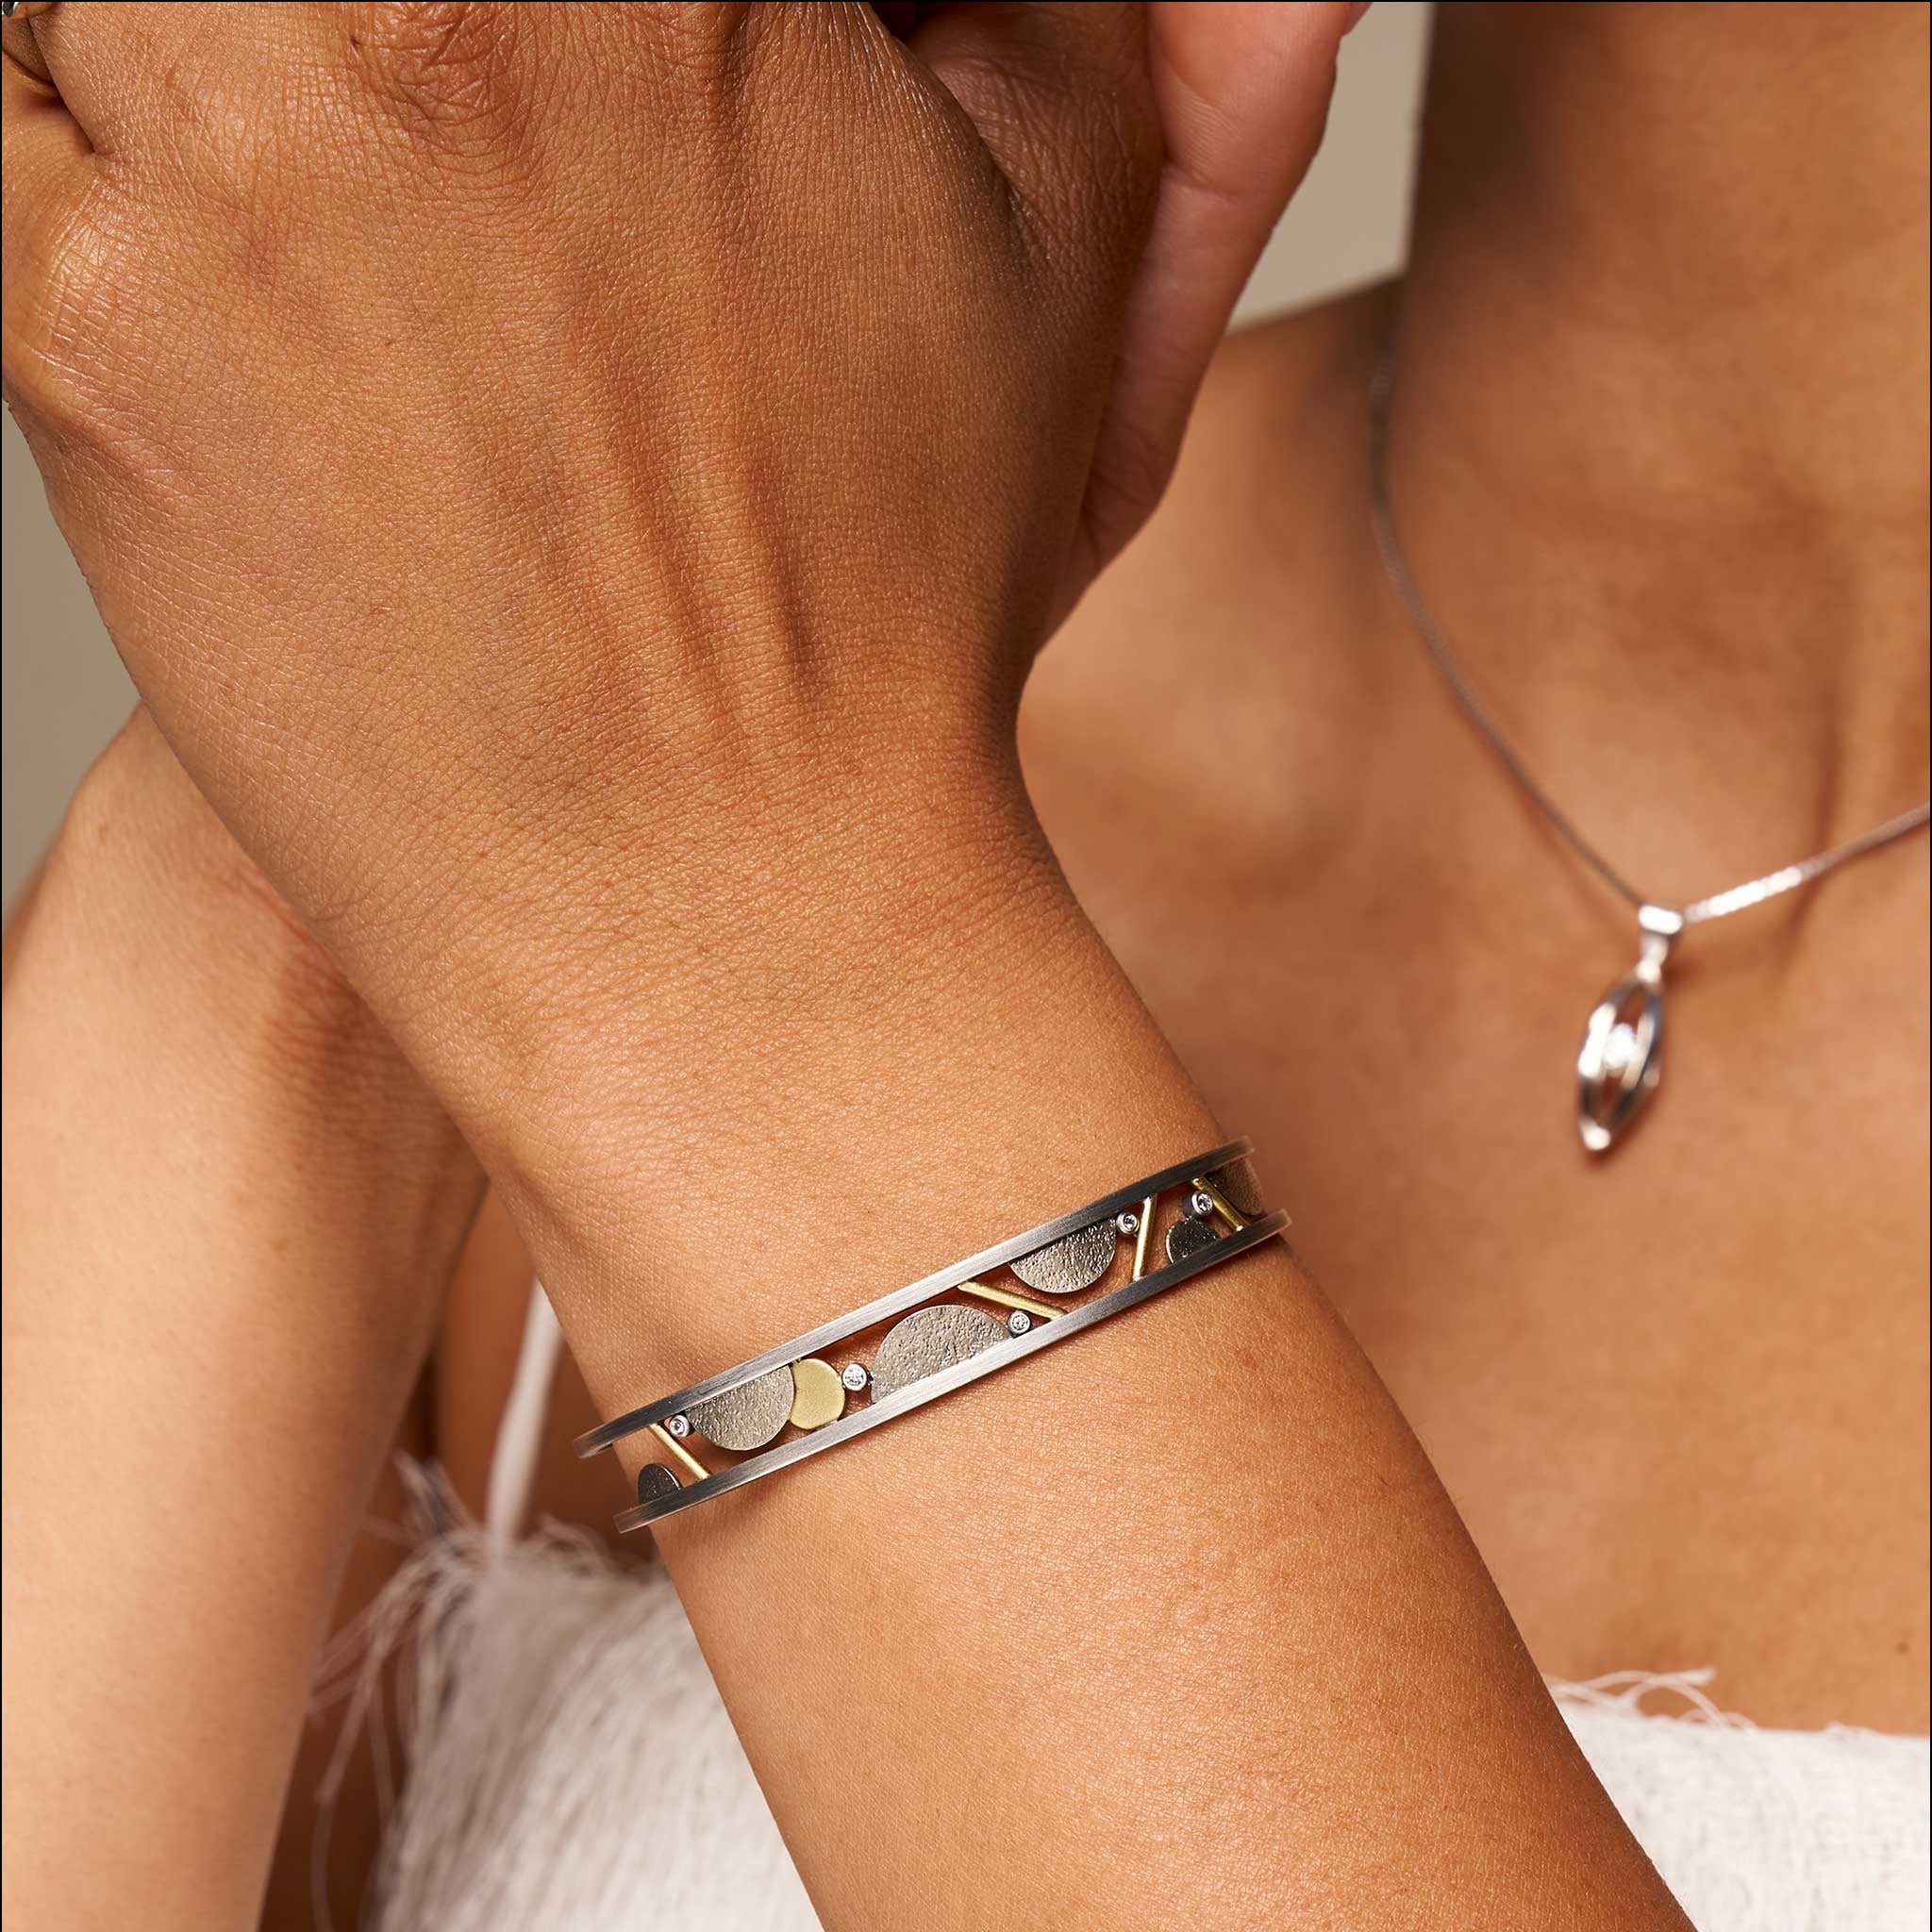
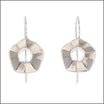
Forging Beauty: A Goldsmith’s Story
If you’ve visited Jewelsmith, you’ve probably seen our goldsmiths hard at work through the glass windows that make the studio visible from our showroom. With the majority of our jewelry designed an...
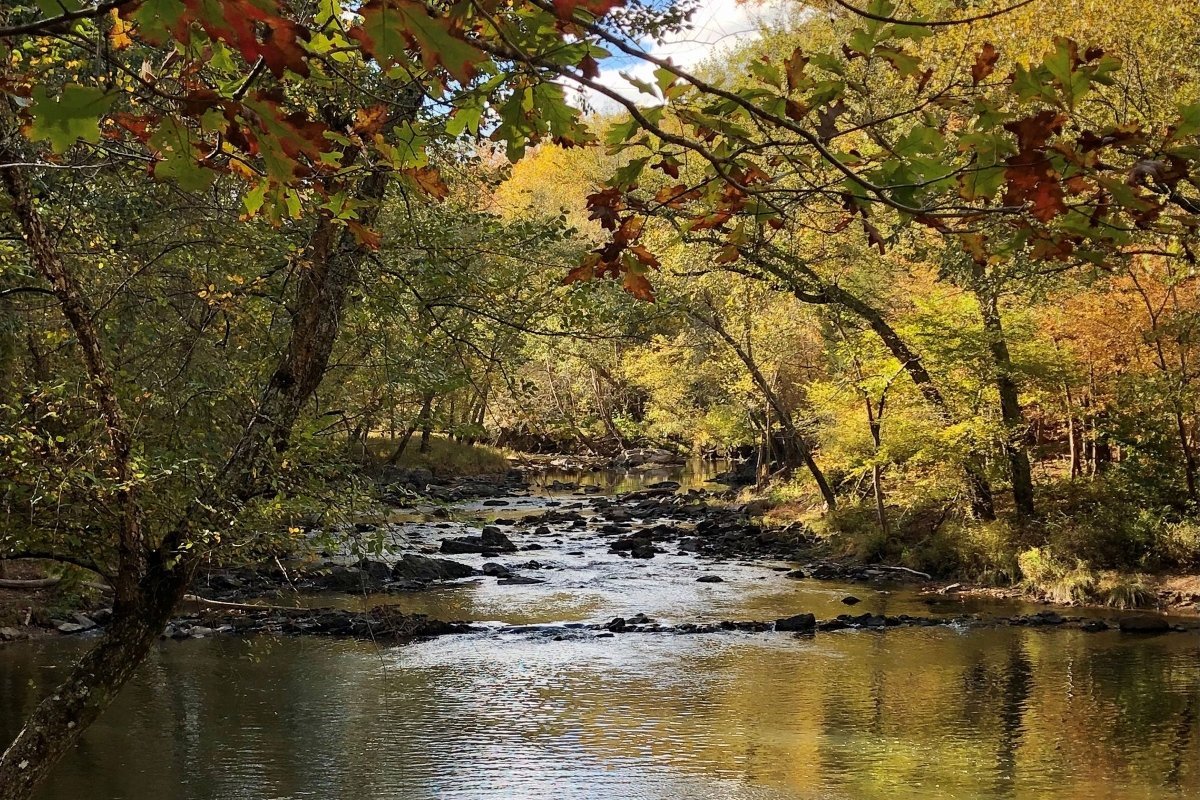
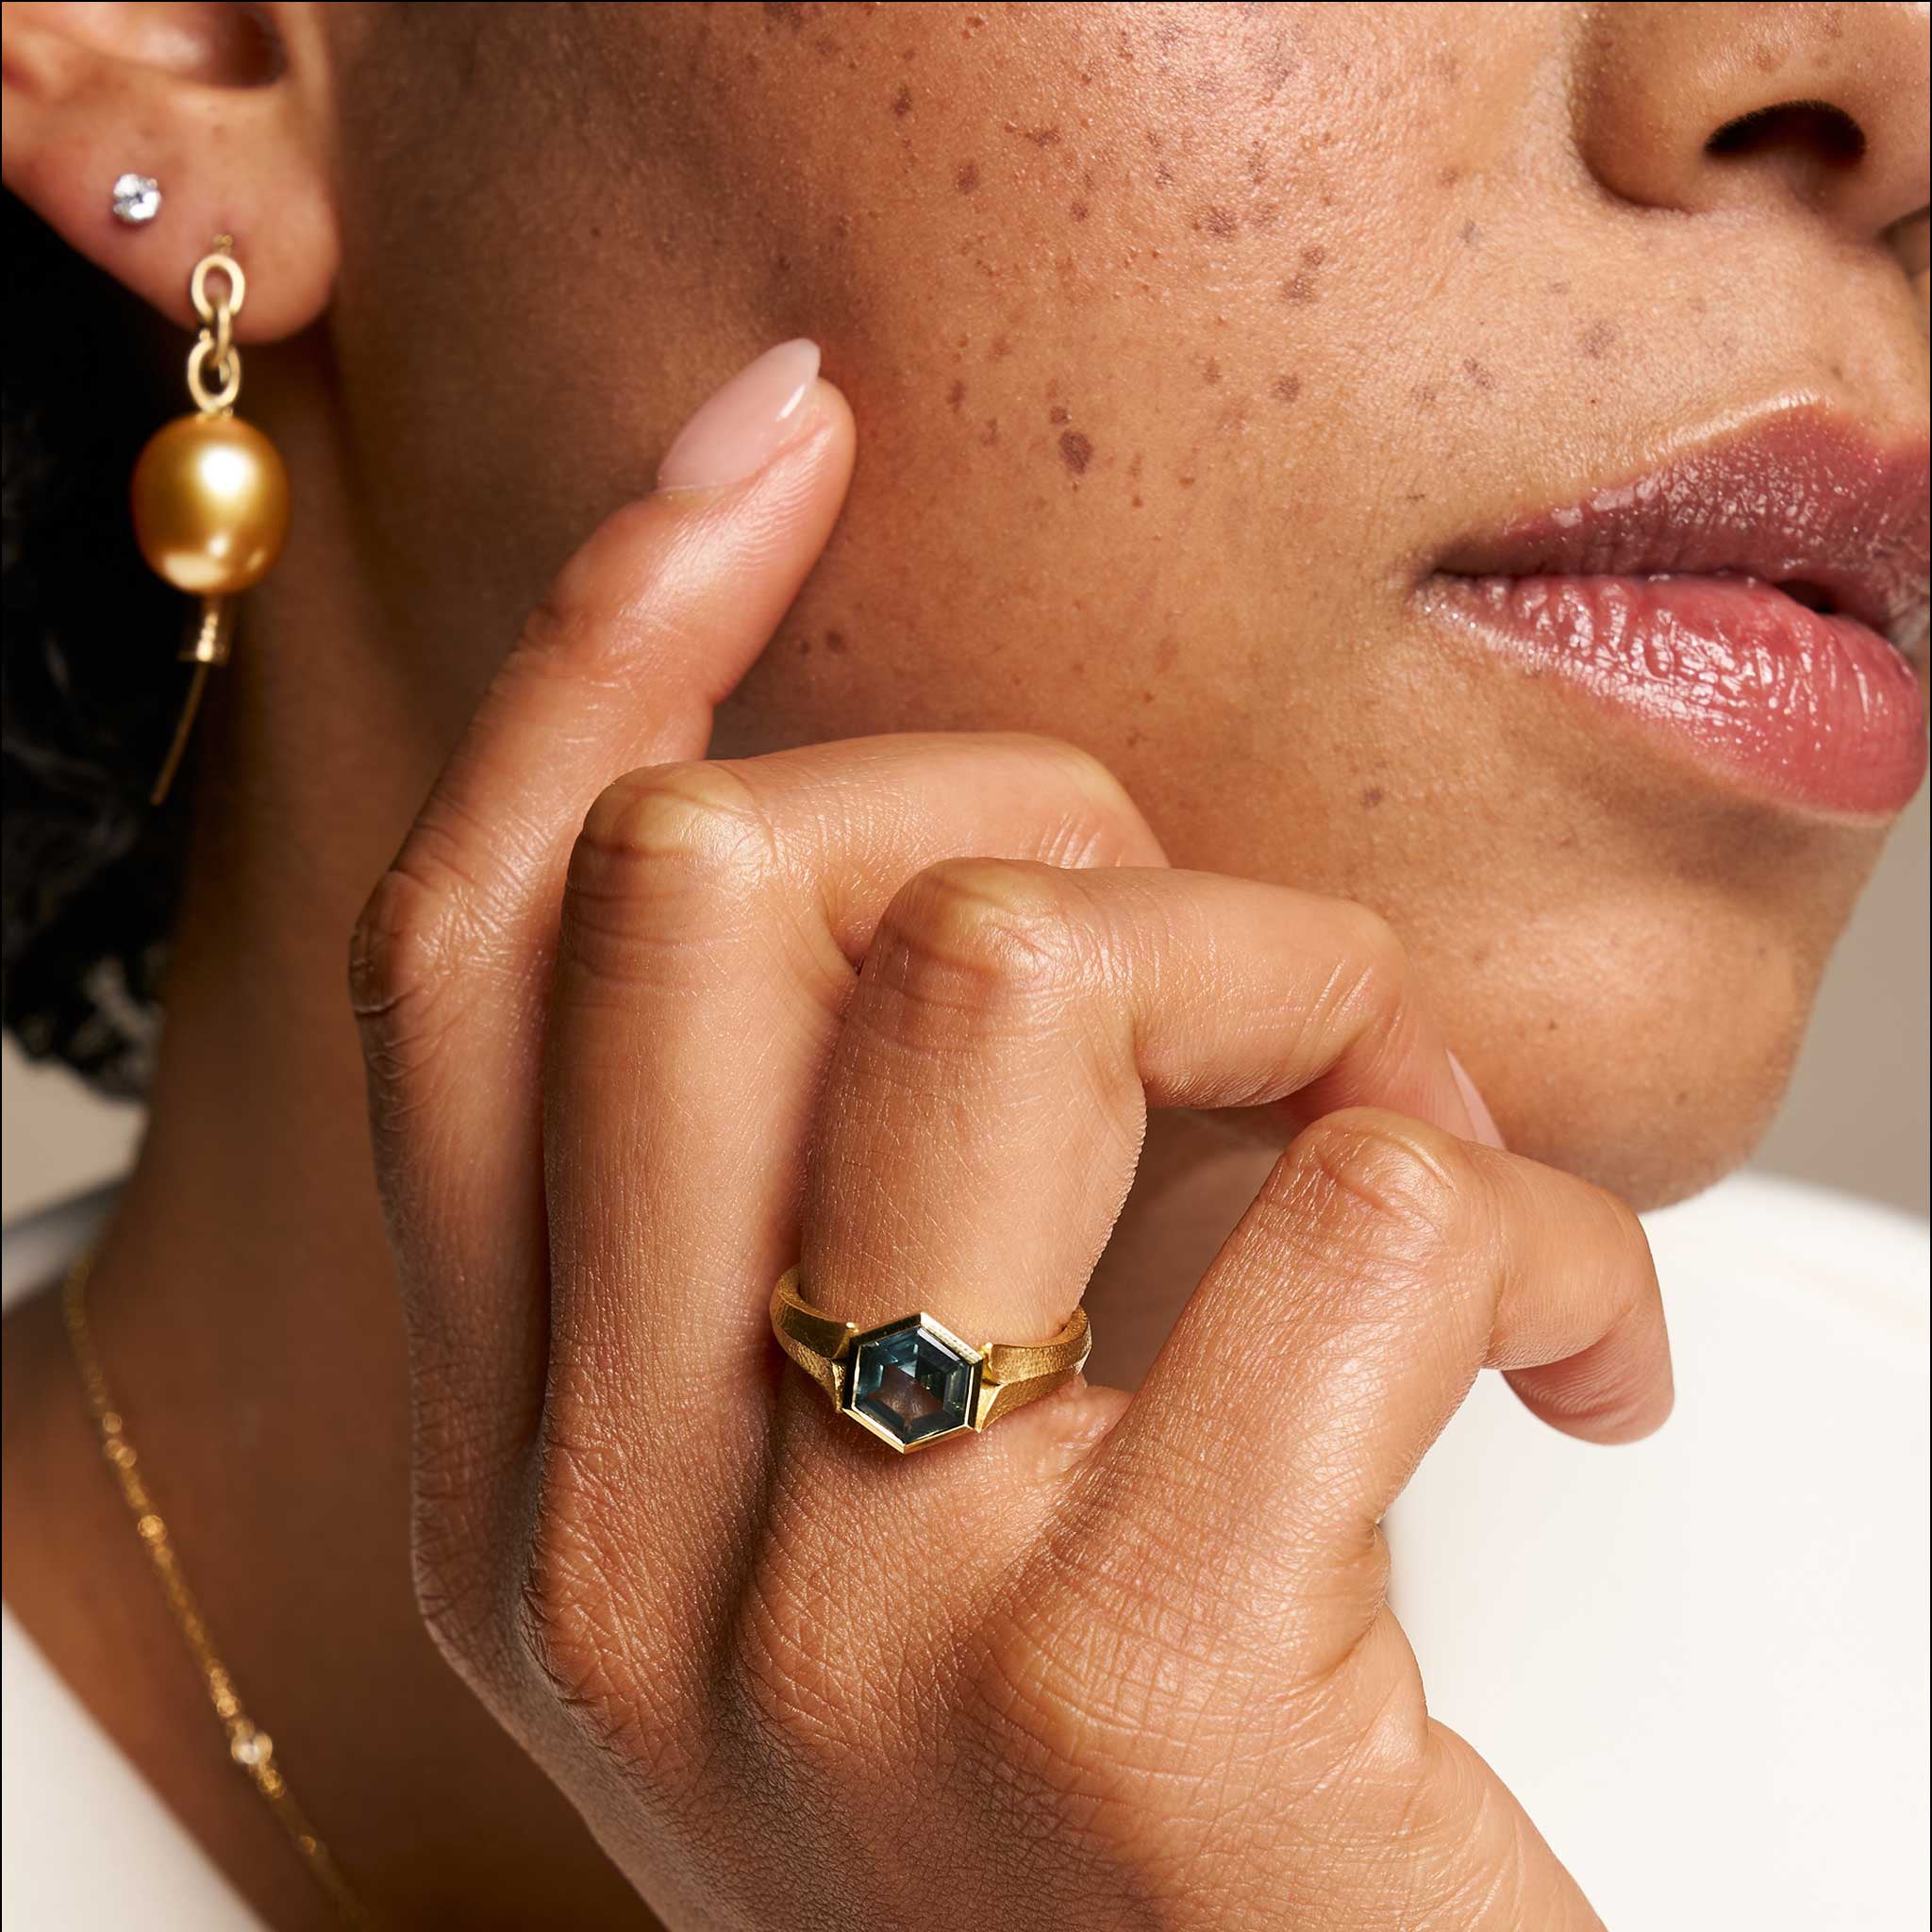
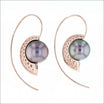
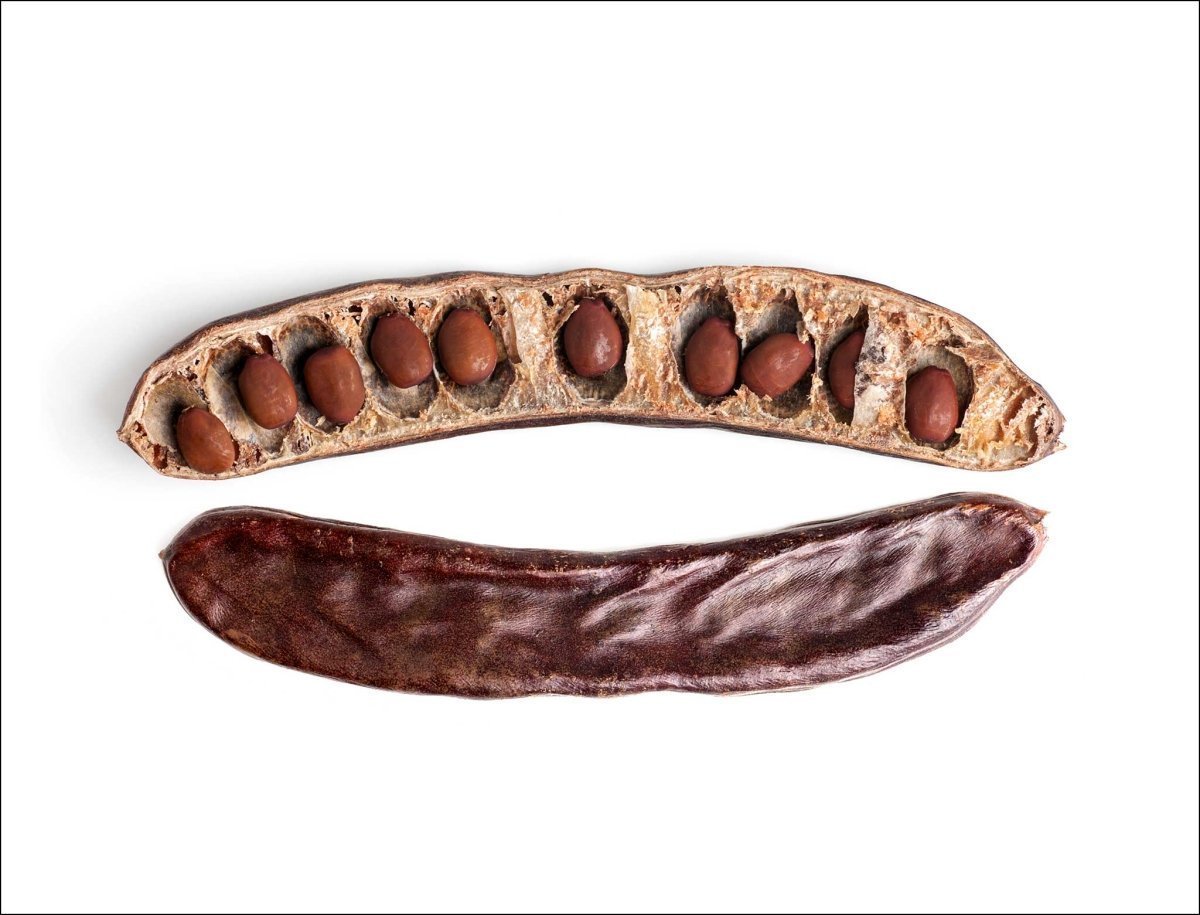
Now Trending: Jewelry Inspired by the Great Outdoors
From ancient Eygptian scarab beetle jewels to the insect motifs of Victorian jewelry, nature themes have long captivated jewelry makers and wearers. At Jewelsmith, our goldsmiths have been incorpor...
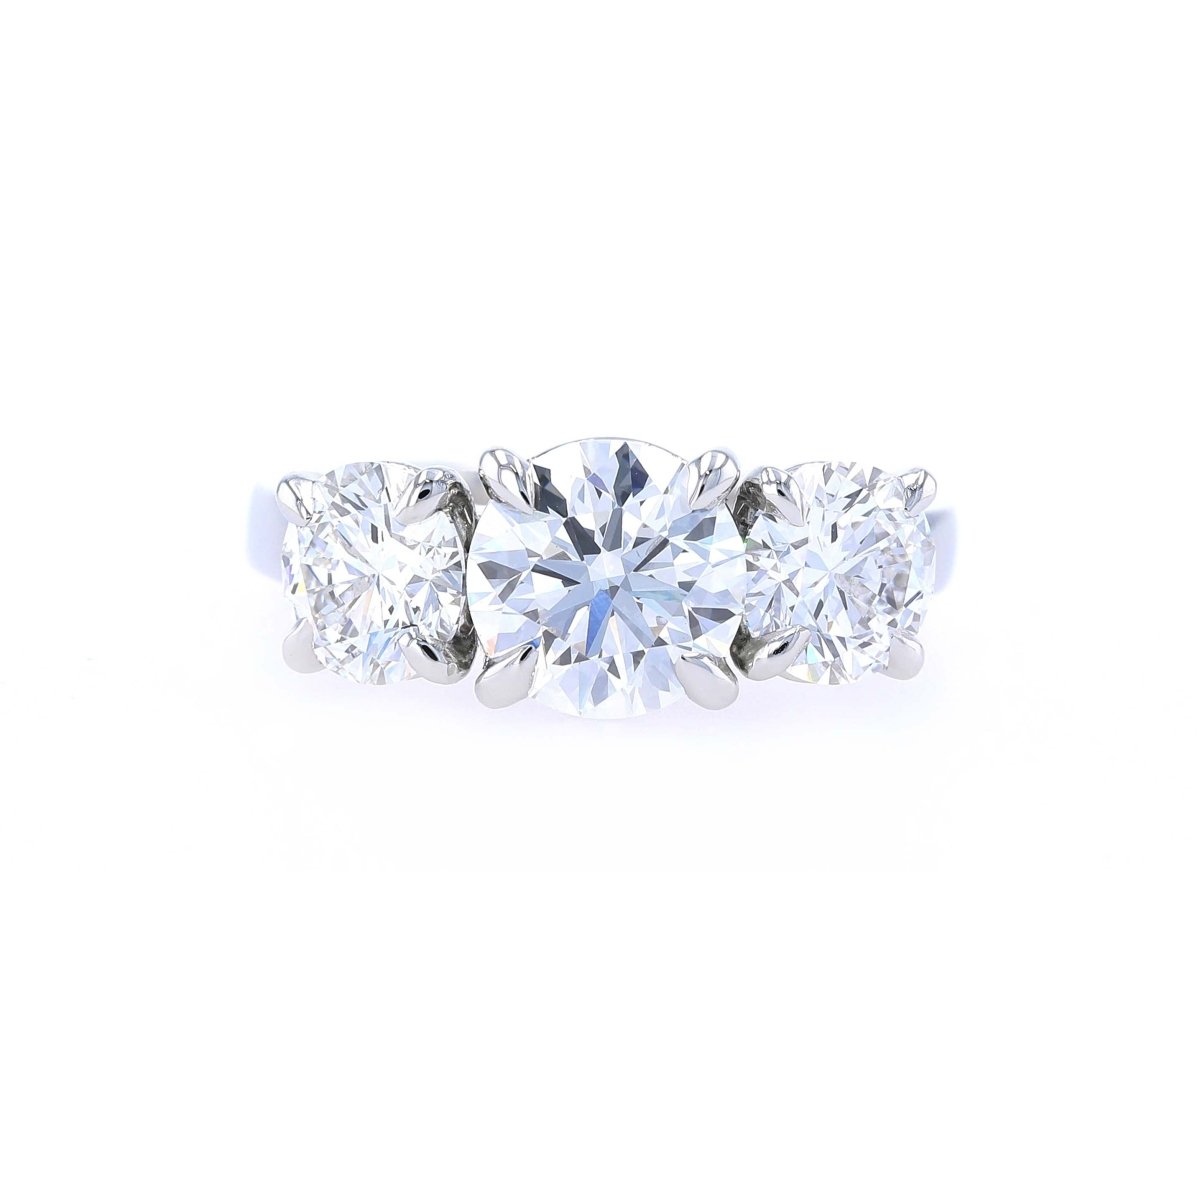
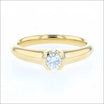
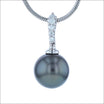
Should I Buy a Lab-Grown Diamond?
Ultimately, deciding between a natural diamond and lab-grown diamond comes down to what is most important to you, and there are many factors to consider, such as origin, price, sustainability, and ...